Considering demo automation? Test drive Demoboost for free!
Start Your Trial
Thank you! Your submission has been received!
Oops! Something went wrong while submitting the form.
How to Build a Dynamic Playlist
What can I manage as an Organization Admin?
How to Integrate Demoboost Lead Forms with Webhooks via Zapier?
How to Build and Customize Your Lead Form
How to Share and Embed Demos from a Specific Screen
Great demo add-on
How to Create and Use Folders
How to Use AI editing on screen elements
How to Editing Screen Elements
Branding -Custom Themes
How to Add Tour Navigation to your Demo
How to Add Video Screens
How to Add Image Screens
How to Add Voiceover
How to Add Floating Button
How to Use AI refine in your guides
Comprehensive Technical Troubleshooting Guide (Before Contacting Support)
Unable to Capture Locally Hosted Pages
Internal Linking vs. External Linking
Shared Link Not Opening ("You Don't Have Access..." Error)
Images Captured with Incorrect Size or Aspect Ratio
Demoboost Application Not Loading
Captured HTML Elements Are Missing or Broken
Unable to Save Screens in the Editor
Why Can't I Select or Edit a Disabled Element in the Editor?
Why Can't I Add an Image or Video Screen to an Empty Demo?
Unable to Log In to Demoboost
Why Do I Need to Refresh My Page After Installing the Extension?
Variables
How to Add AI Narration to your Demos
Autoplay
Auto translate
Sales Room
Demo playlist
Ending/CTA screen
Pick Your Own Journey Screen
Performing key operations on screen
Integrating Marketo with Demoboost: A Step by Step Guide
Integrating 6sense with Demoboost: A Step by Step Guide
How to Build a Sandbox Demo
“Great Demo!” Training for Sales Teams
Sample Article
How to Replace images
How to Assign a Variable
How to Select or Create an Overlay
How to download the extension?
How to present Mailchimp to Tim Cook
How to Clear Your Browser Cache
How to Install Microsoft Clarity on Your Demos Using Google Tag Manager
How to Translate Screens
Troubleshooting Saving Errors
How to Capture Local Web Pages
Advanced Guide Cutomisation
How to Edit Elements Behind Overlays
How to Export Data from Demoboost
Analytics Overview
Playback Settings
Live Demo Settings
Demo Email Notifications
How to Share Demos
How to Embed Demos on Your Website
How to Share With Presenters and Channel Partners
How to Duplicate Demos
Inspector Introduction
Creating Mobile App Demos
How to Add Speaker Notes
How to Add Video Narration
How to Create and Manage a Guide
How to Link Screens
How to Capture Screens
How to Create Demos
How to Add Extension
If this editor looks unfamiliar, you're likely using the previous version.
Access the right documentation by clicking on the button.

How to Build a Dynamic Playlist

Dynamic Playlists allow you to create personalized, high-intent demo experiences. By using the Playlist Menu, you let prospects tell you exactly what matters to them, turning your demo into a discovery powerhouse that syncs directly with your CRM.

Step 1:

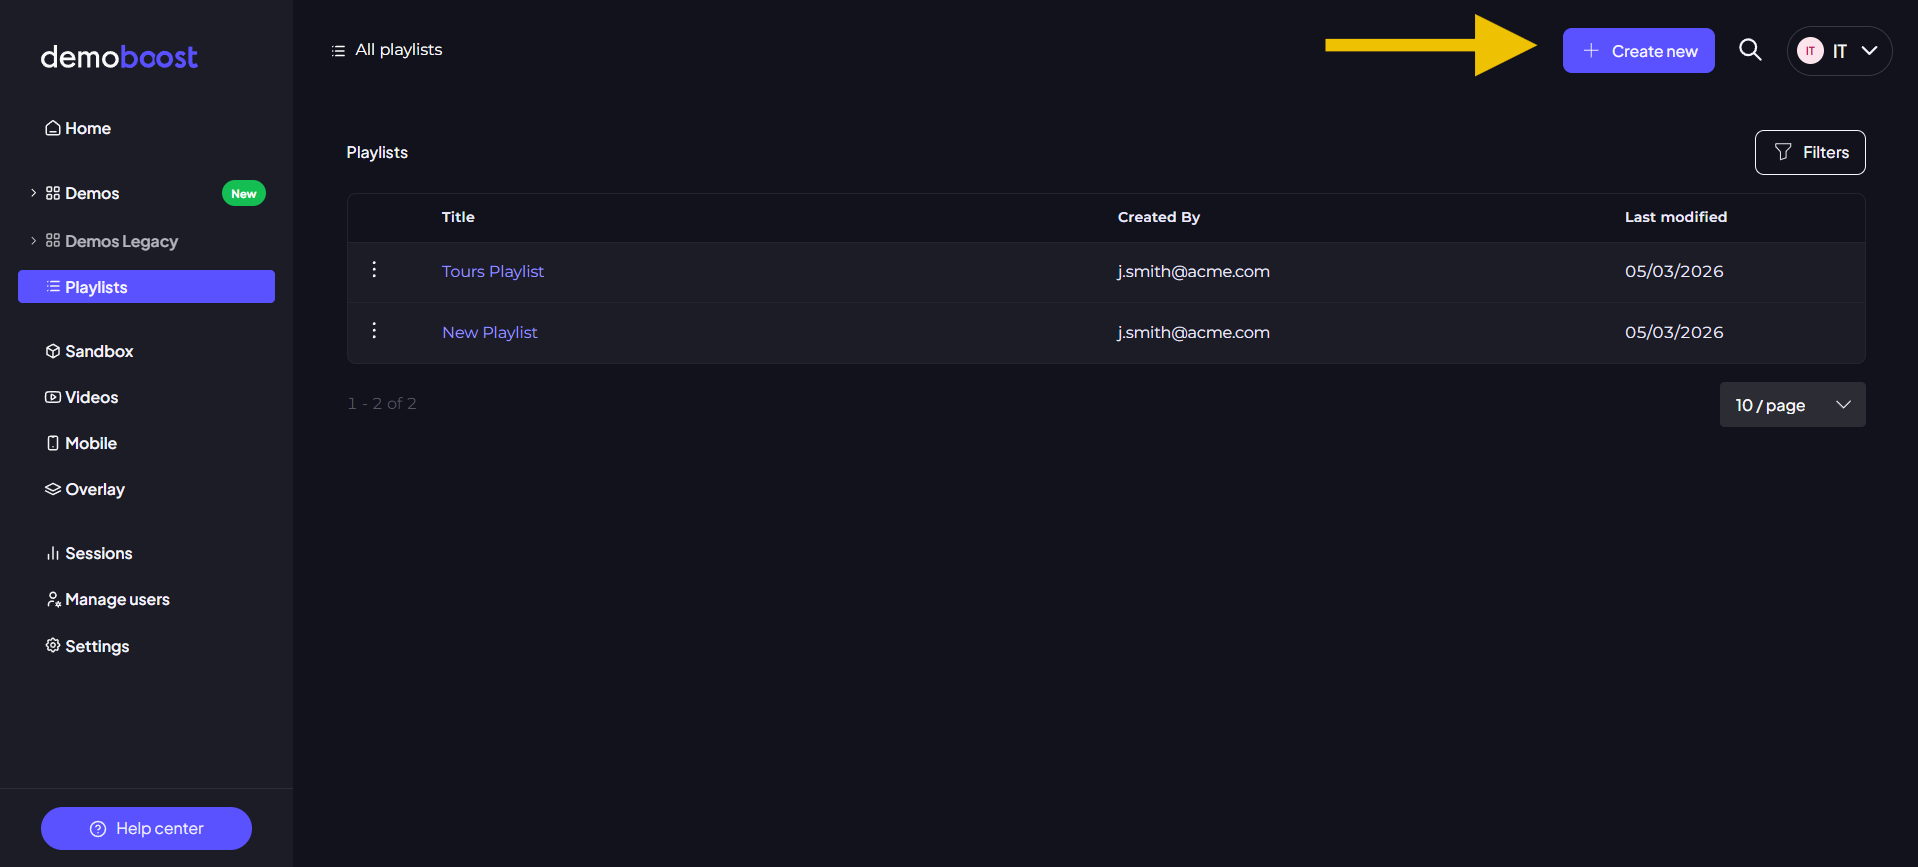
Log in to your dashboard and navigate to the Playlists tab on the left-hand sidebar.

Step 2:

Click the Create New button. Your new playlist will appear instantly in the list.

Step 3:

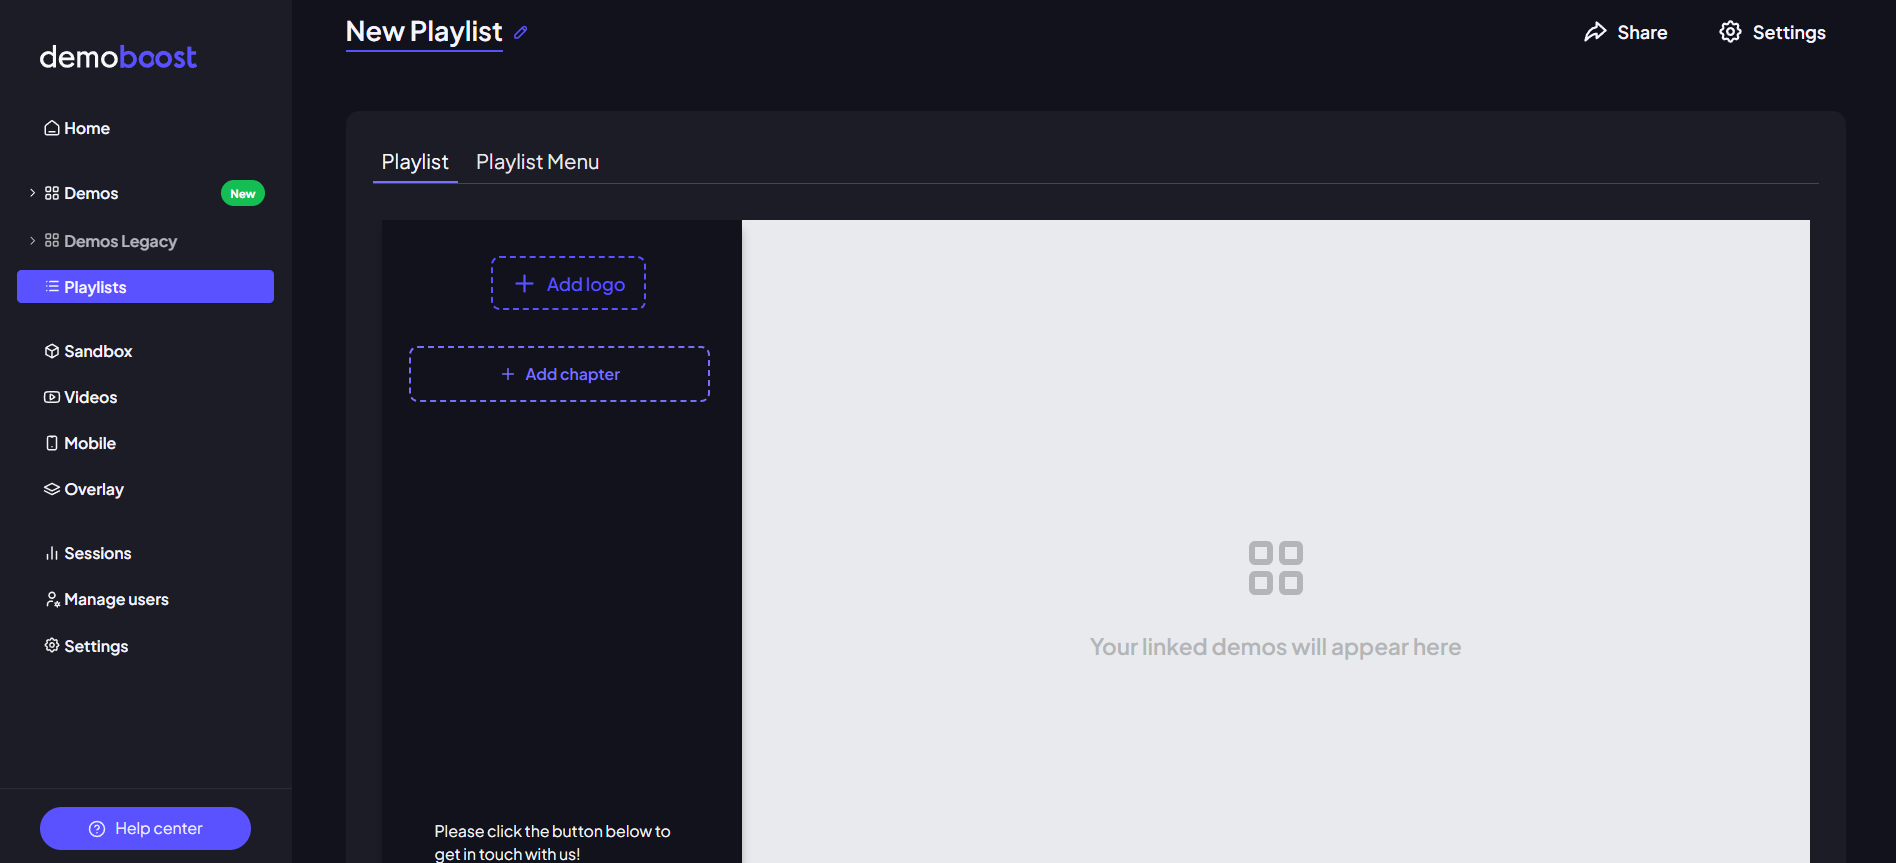
Click on your new playlist to open the editor. At the top, you can rename the playlist to stay organized (e.g., by prospect name or use case).
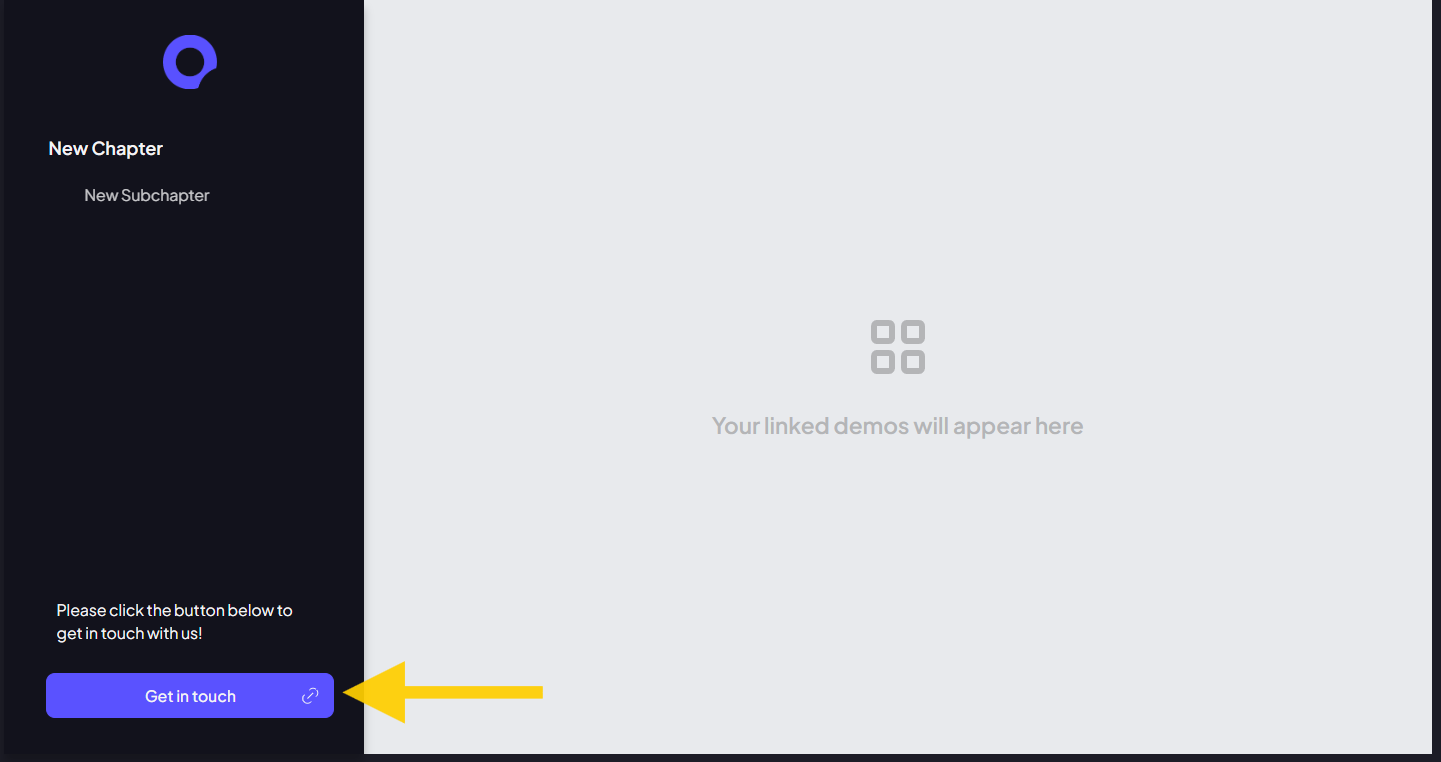
Step 4:

Personalize the experience by adding a logo. This makes the demo feel like a bespoke, "white-glove" consultation for your viewer.

Step 5:

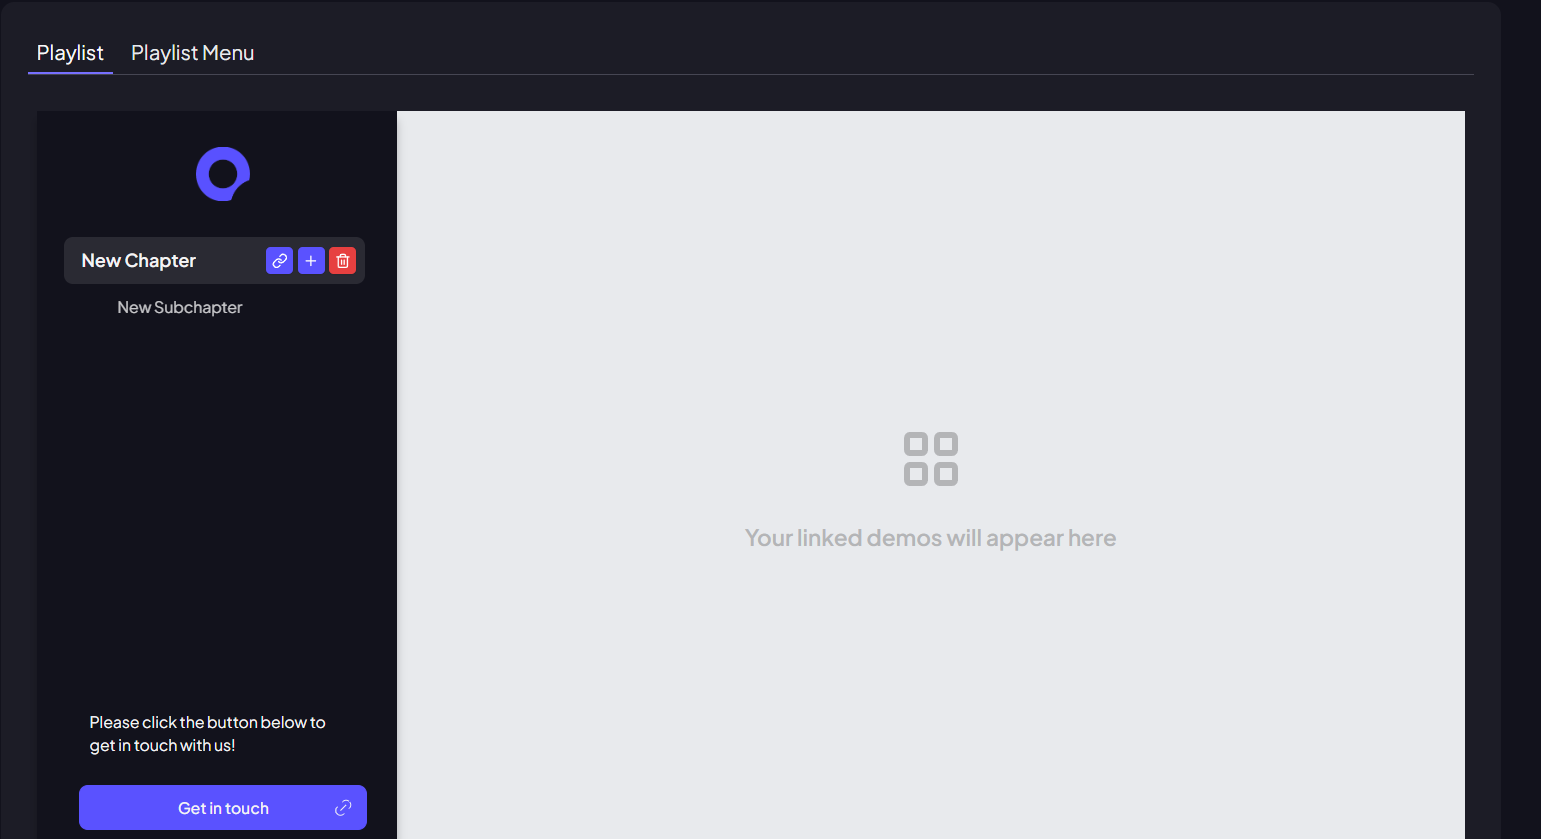
Click Add a New Chapter to define your main topics. You can also click Add Subchapter for more complex products to keep your navigation clean.

Step 6:

Link your content. Click to link a demo to a specific chapter and select the relevant demo from your library.

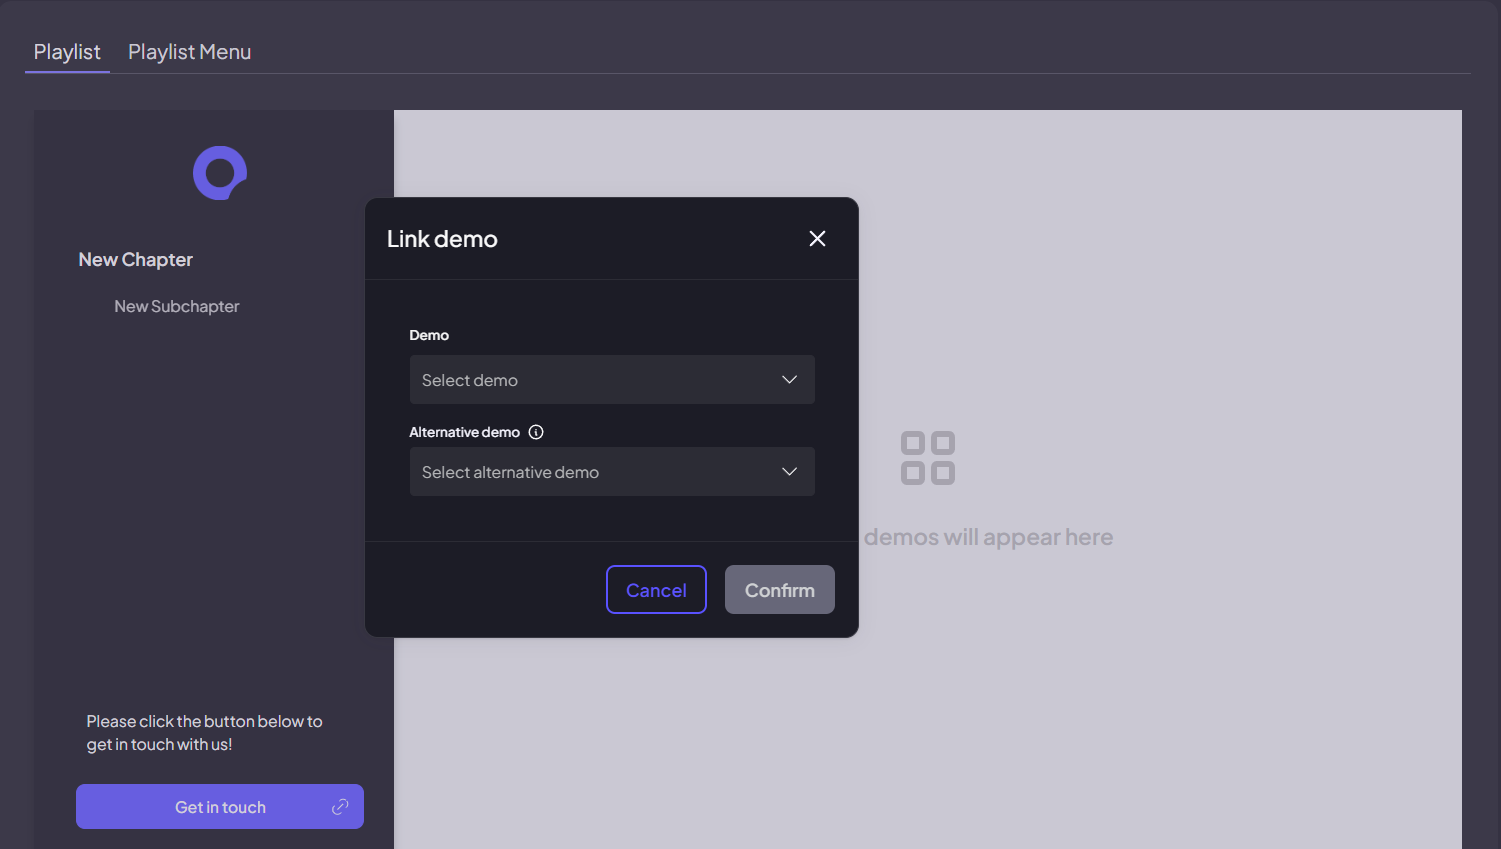
Note: In the settings for a chapter, you can link an Alternative Demo. If a viewer marks a topic as Nice-to-have in the Playlist Menu, this shorter or lite version will be shown automatically.

Step 7:

Add your Call to Action (CTA). Provide a link to your booking calendar or website. This gives your prospect a clear next step the moment they finish viewing.
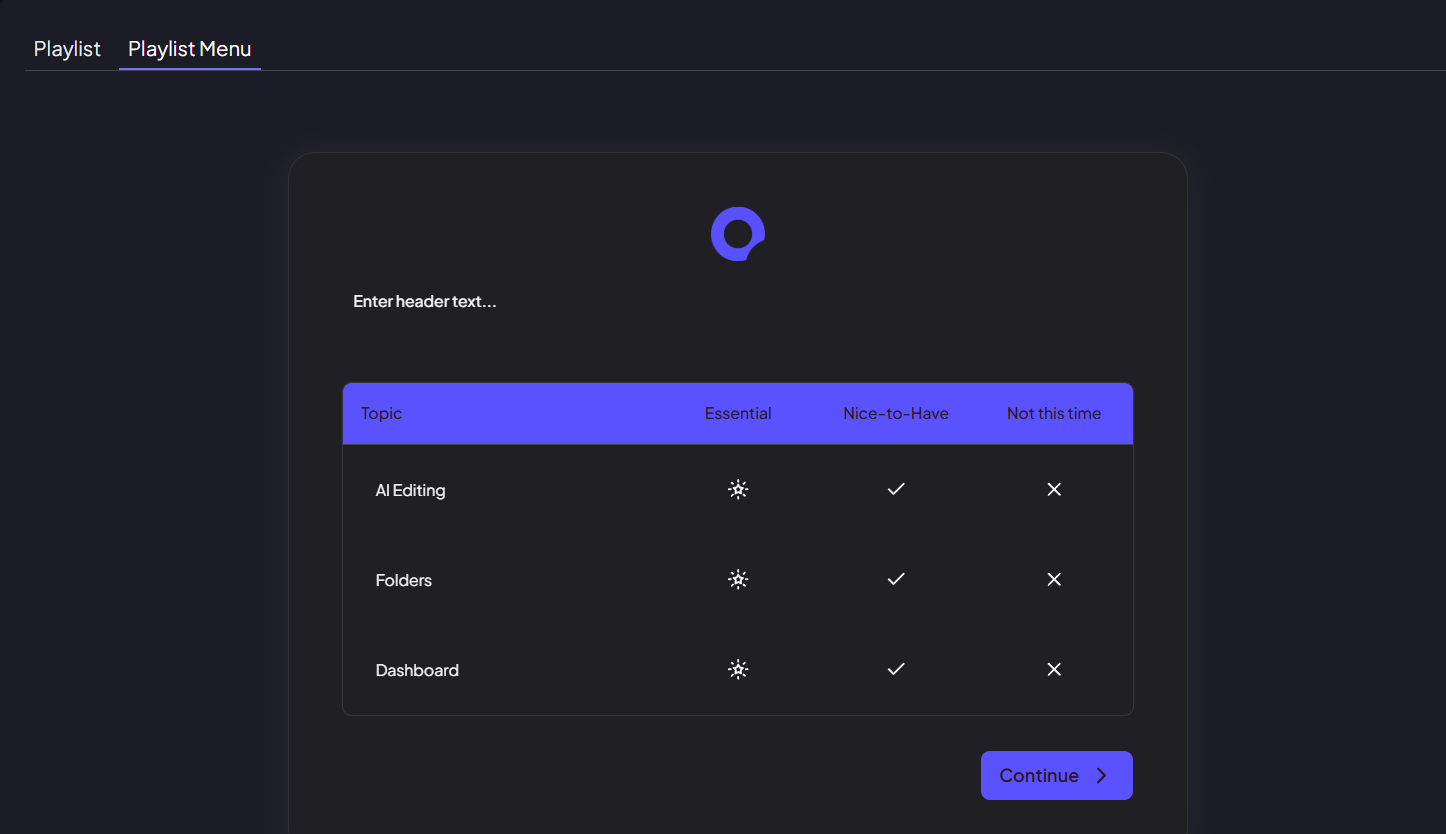
Step 8: 

Click on the Playlist Menu tab. This is where you decide which chapters your viewers can prioritize. Enabling this turns your demo into a discovery tool that captures buyer intent.

Step 9:

Craft a Welcome Note. Since the Playlist Menu is the first thing your prospect sees, use this space to explain that you’ve tailored this demo to focus specifically on their priorities.
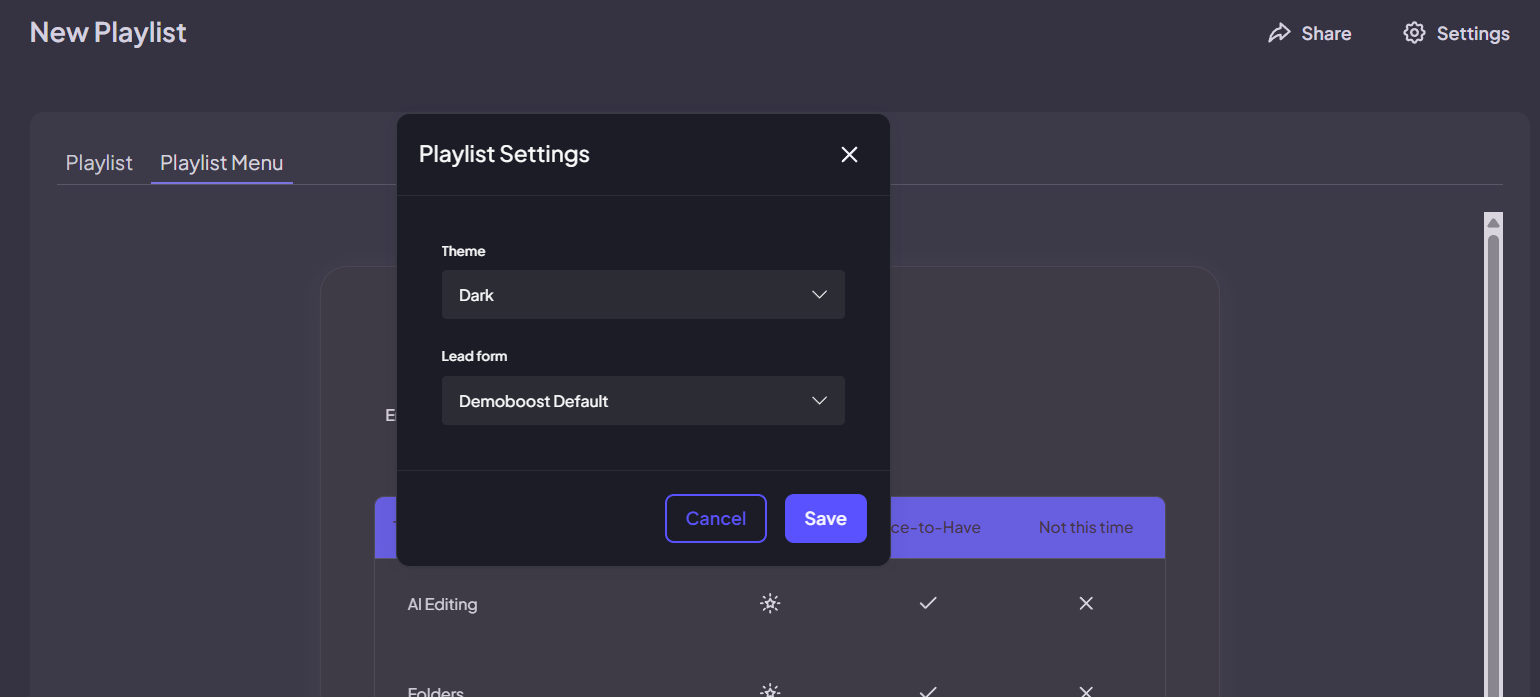
Step 10:

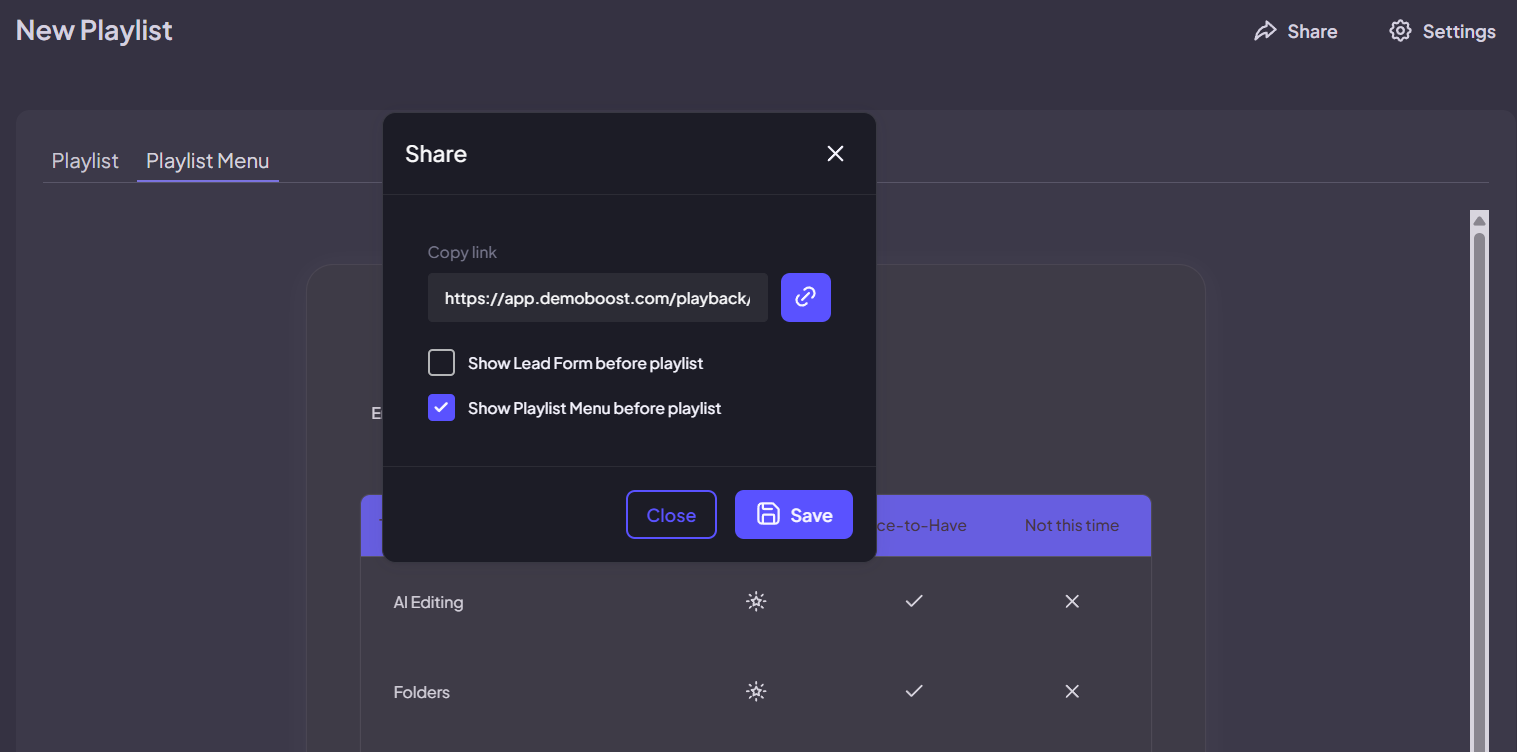
Click Settings to customize the visual theme and lead form. You can choose whether to show the lead form before the playlist or let the viewer dive straight into the menu.

Step 11:

Copy the link to see your live dynamic playlist.