If this editor looks unfamiliar, you're likely using the previous version.
Access the right documentation by clicking on the button.
As your demo library grows, keeping content organized becomes essential. Organization Tags help your team create a shared tagging structure, making it easier to filter, search, and quickly find the right demos across the entire organization.
Step 1:
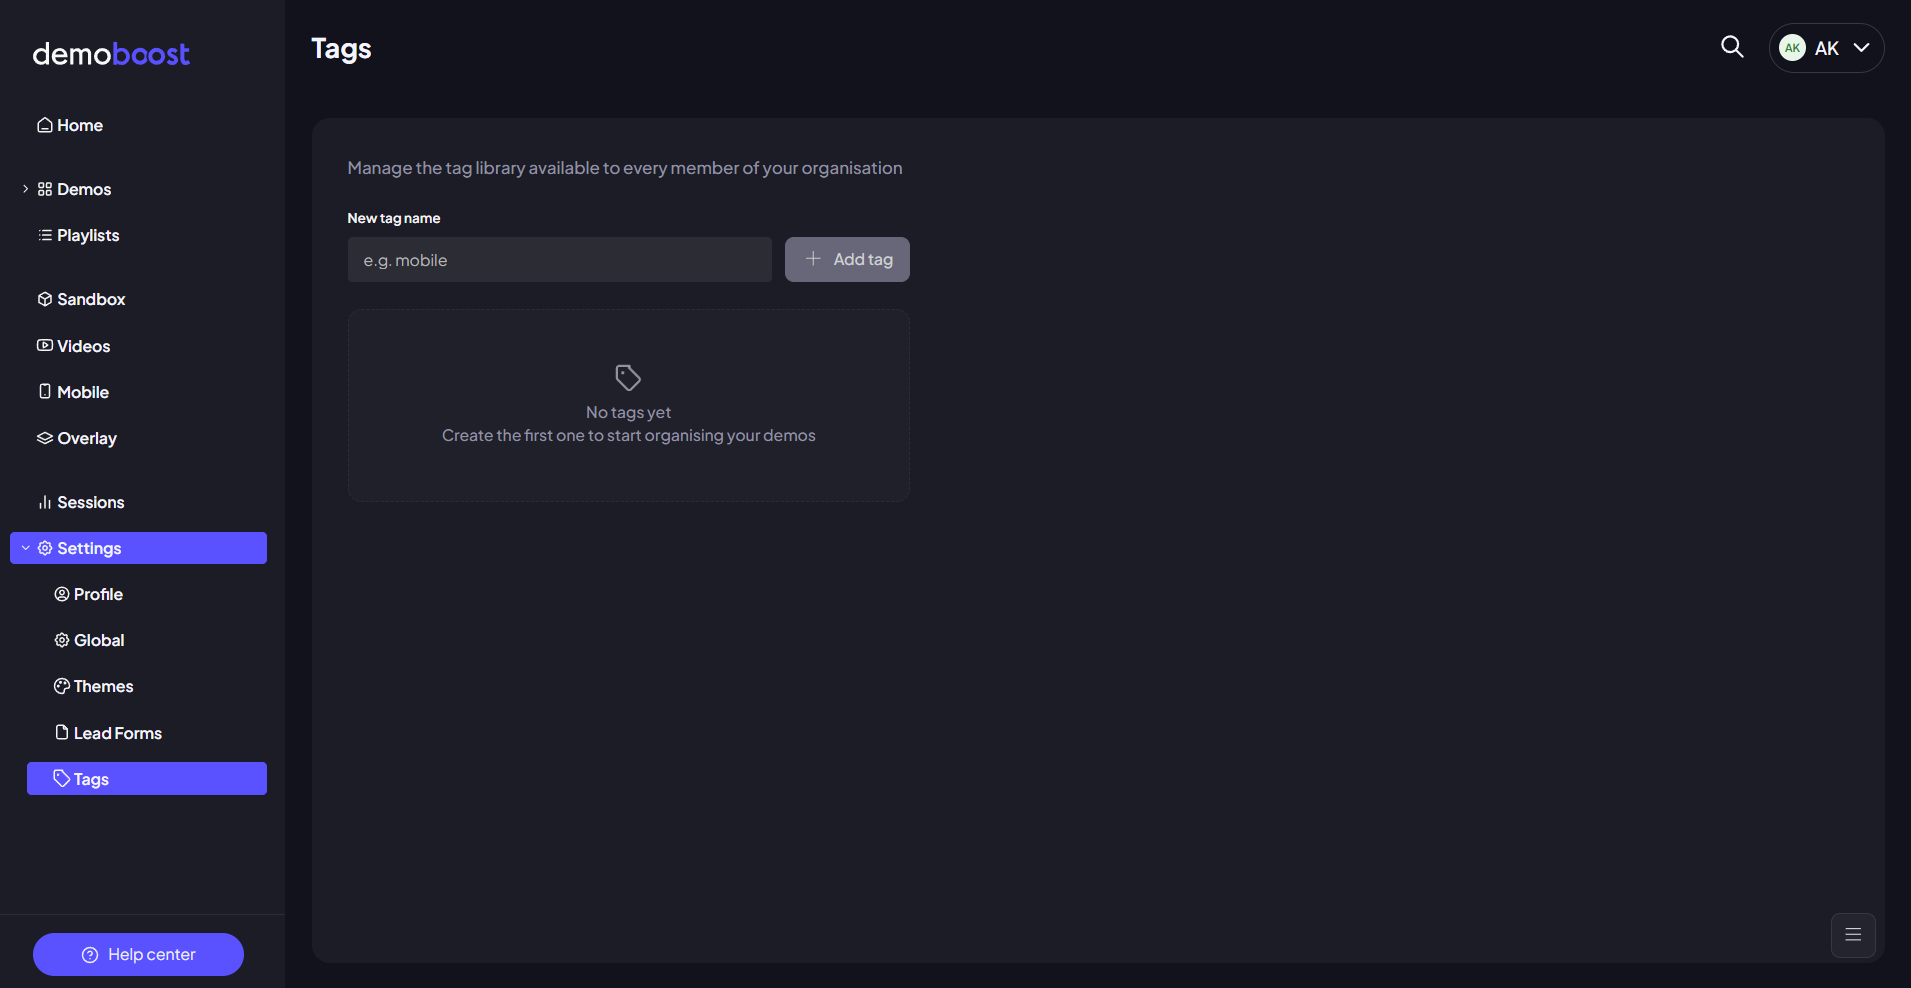
To manage organization tags, go to Settings and open the Tags tab.
Here, admins can create, edit, and delete tags that will be available across the entire workspace.
Step 2:
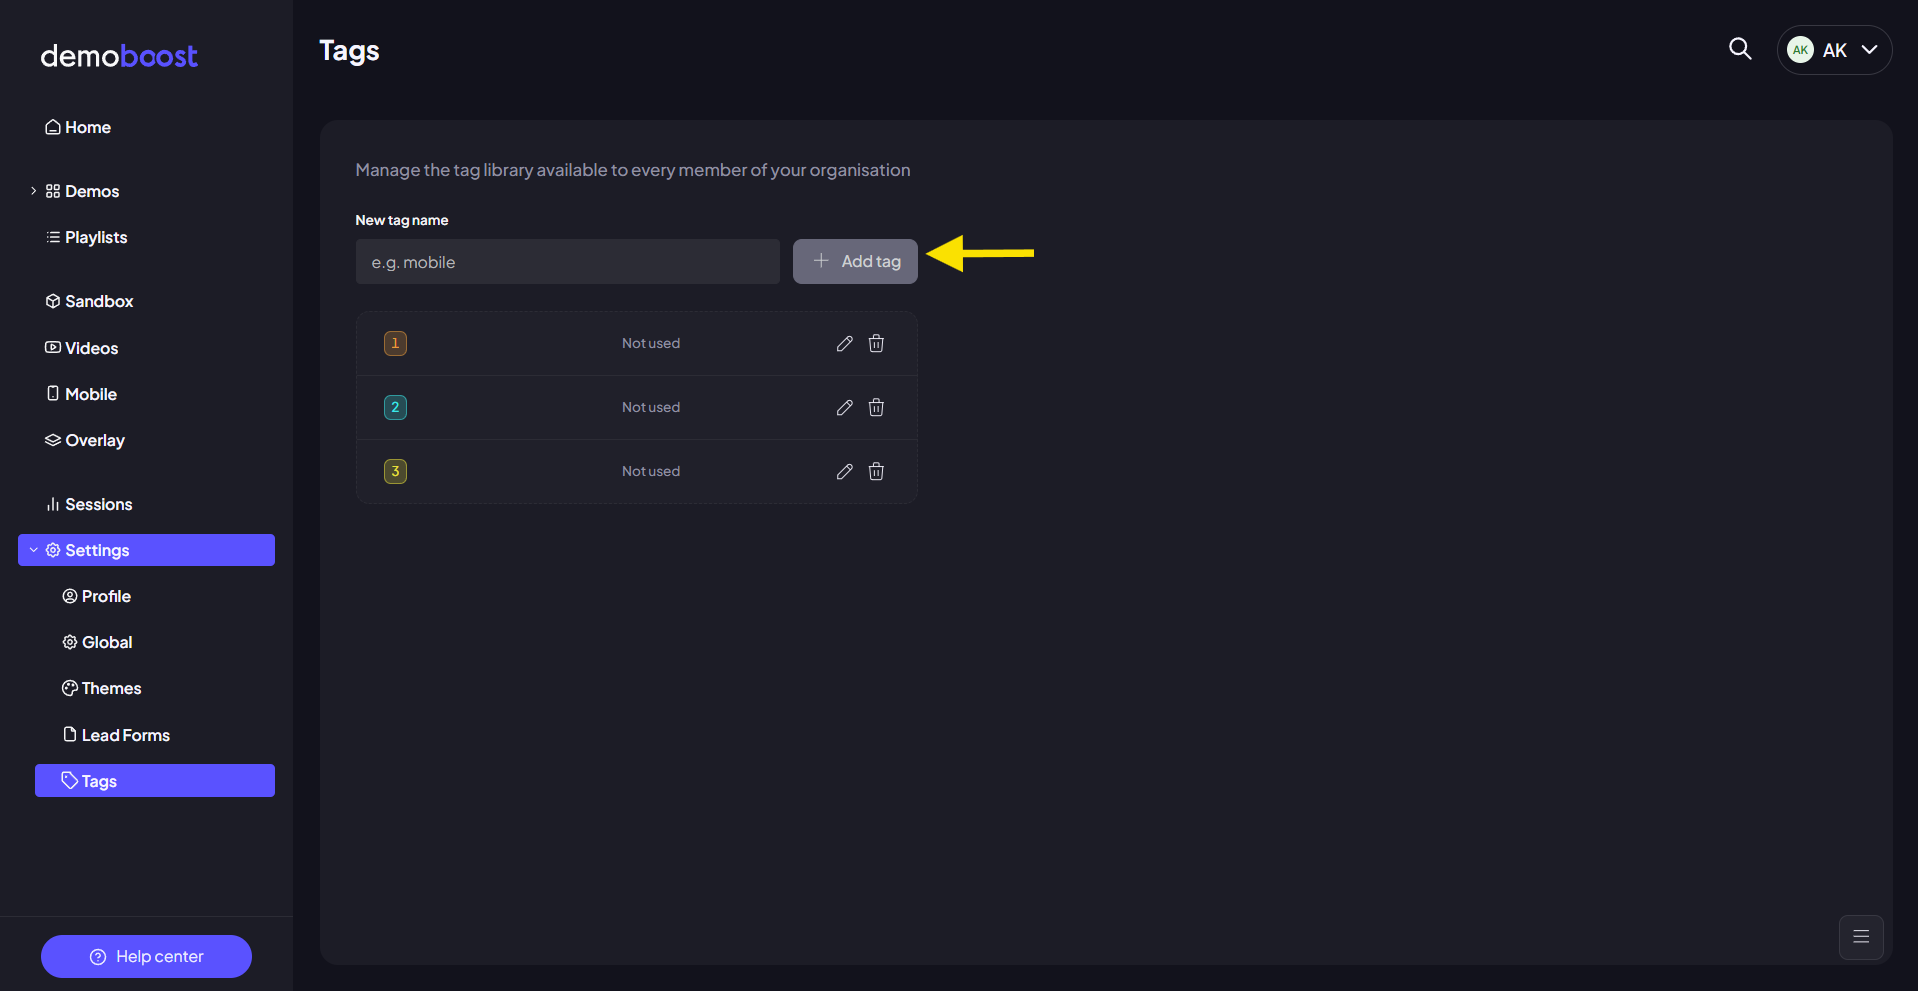
To create a new organization tag, enter the tag name and click Add tag.
Once added, the tag instantly becomes available for everyone in the organization to use.
You can create as many tags as needed to build a shared and consistent tagging structure for your team.
Step 3:
There are multiple ways for users across the organization to assign available tags to demos.
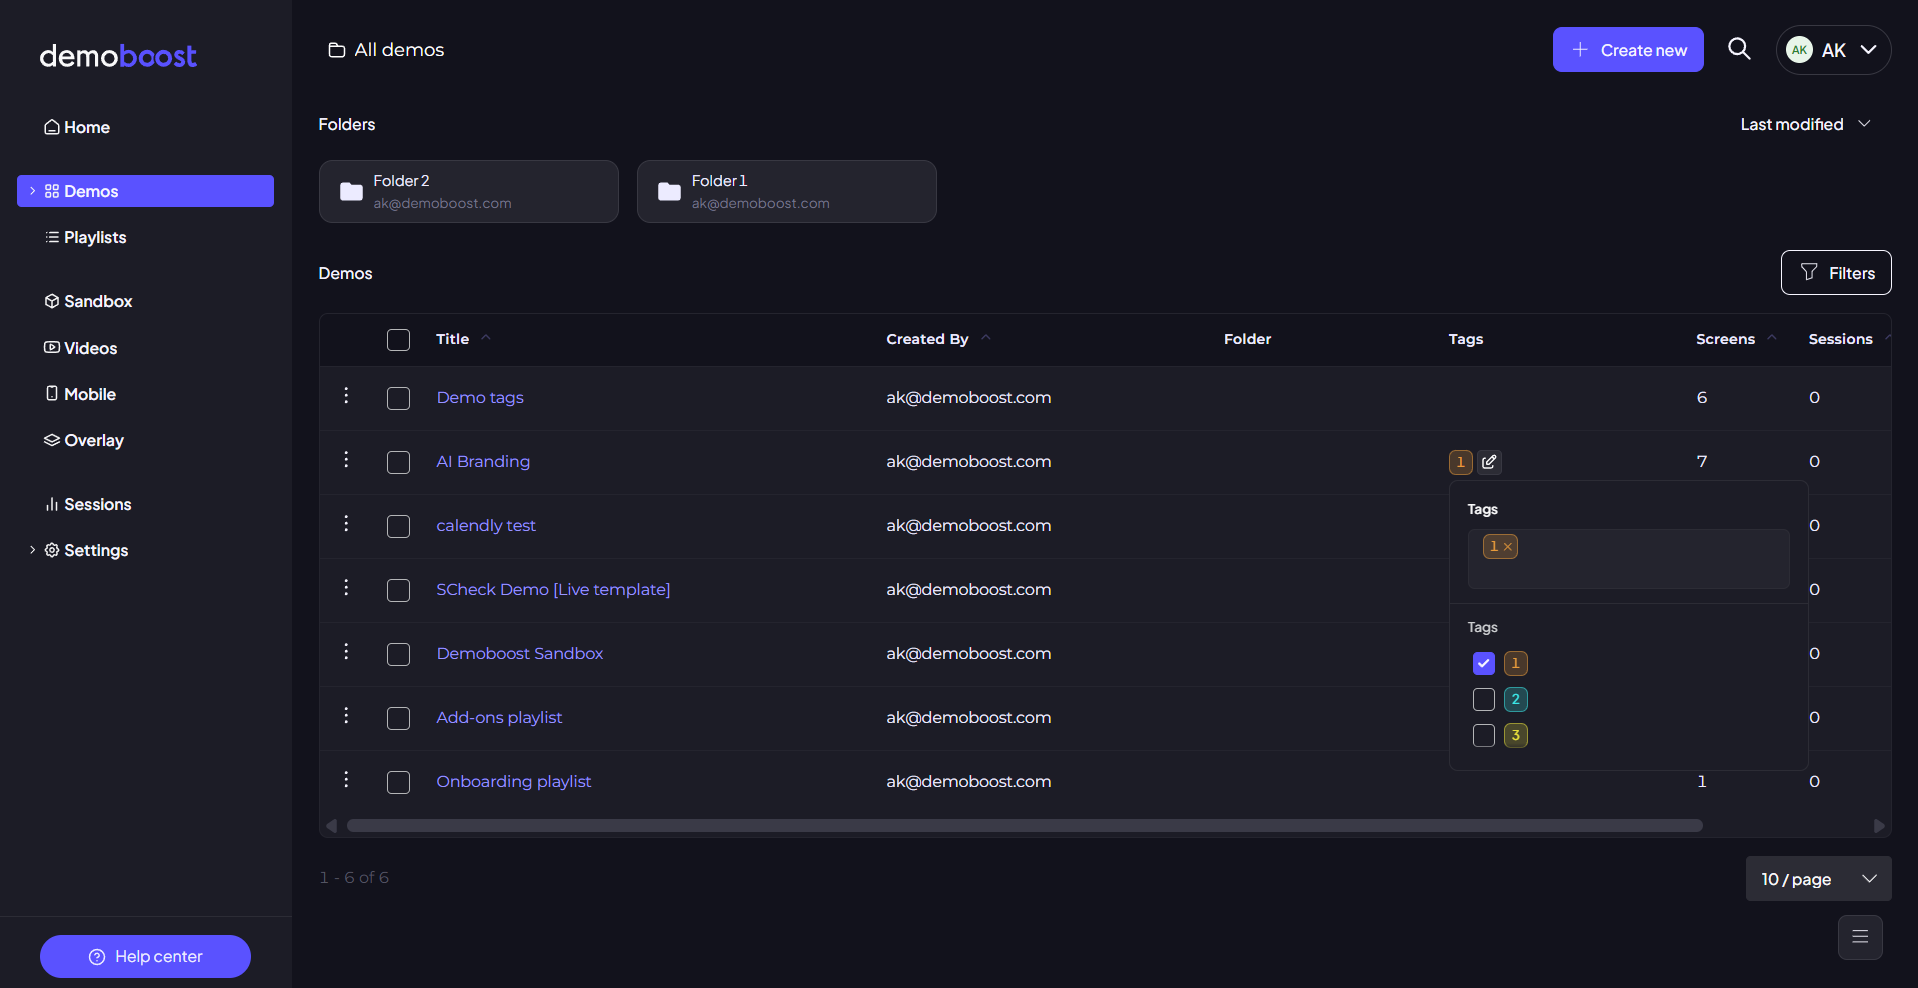
From the Demos tab, click the plus icon in the Tags column for the demo you want to organize.
You’ll see the list of available organization tags. Simply select the tag you’d like to apply.
Once a tag is added, you can remove it or assign additional tags to the same demo at any time.
Step 4:
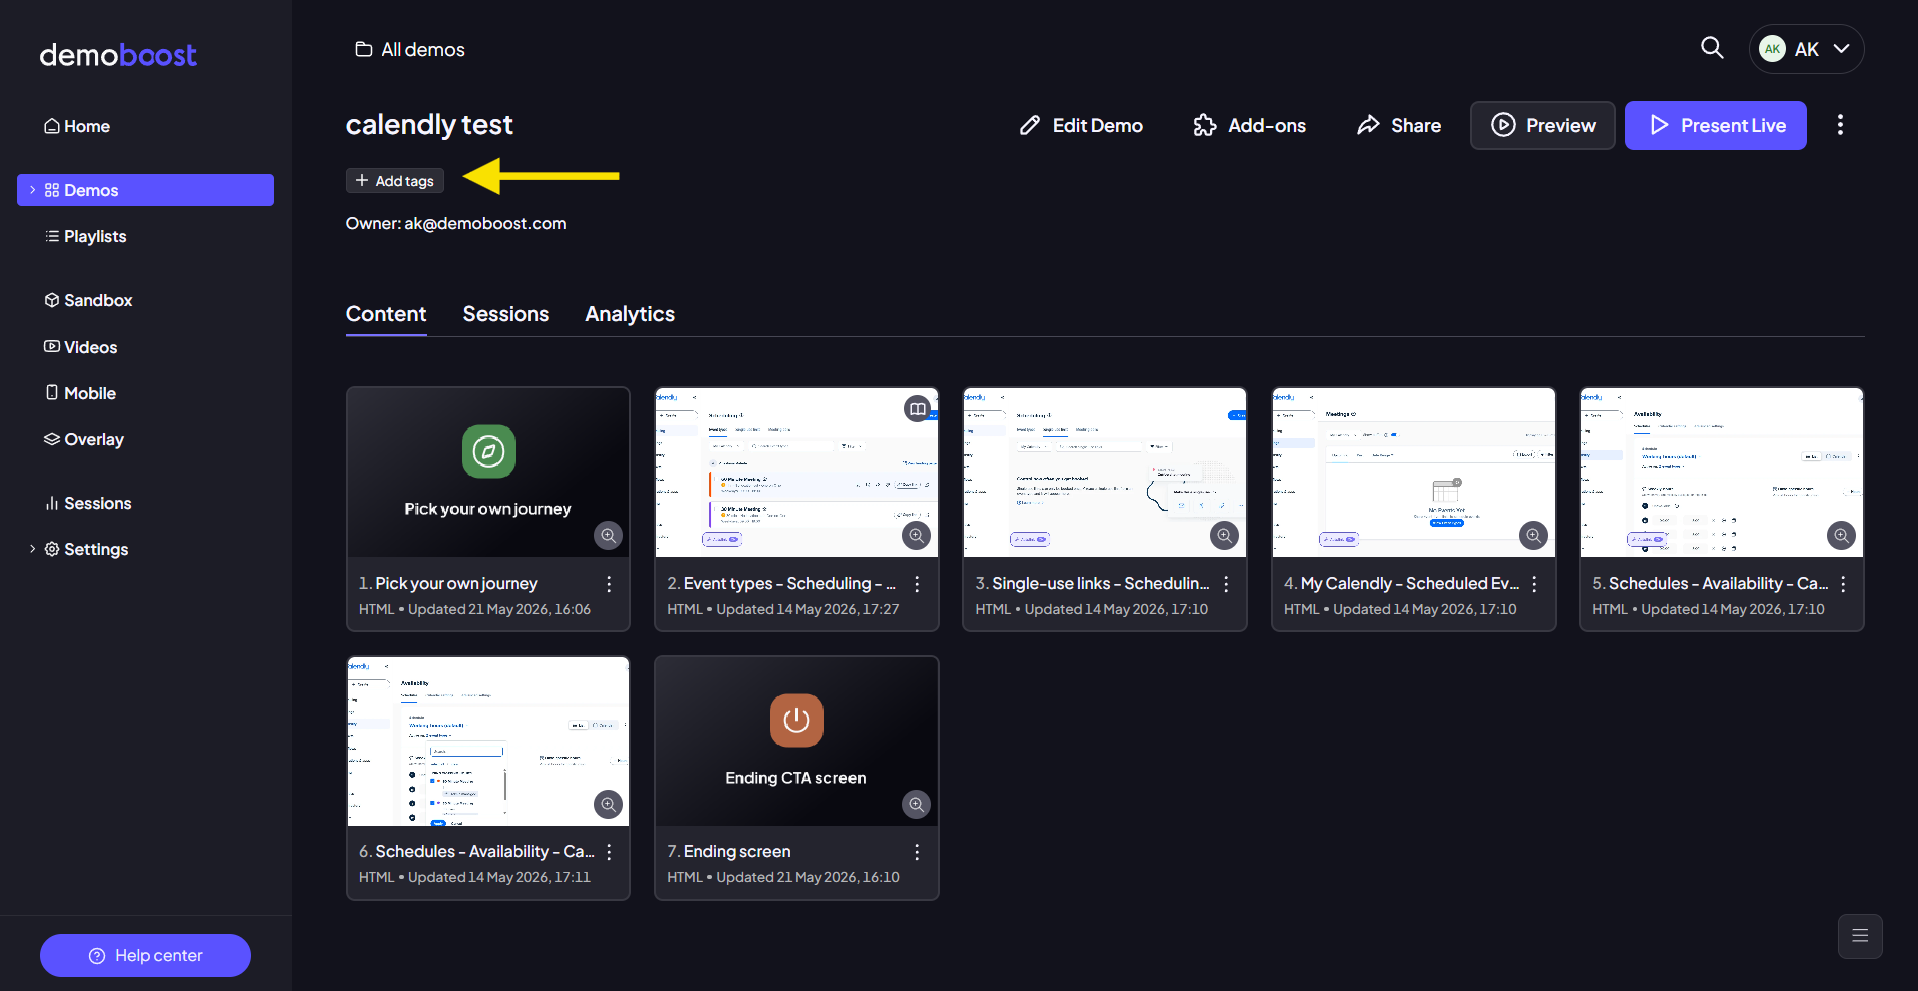
Tags can also be added directly from the demo editor.
Open the demo, click the Add tags button below the demo name, and choose the tags you’d like to apply.
And that’s it! With organization tags, it’s easy to keep your demo library organized and easy to navigate for the whole team.
Note! Besides demo tags and demo names, you can also search demos using the ID from a shareable link. If a colleague sends you a playback link instead of an internal demo link, simply copy the part after /playback/ and paste it into the search bar.
Alternatively, if you’re logged into Demoboost, open the demo and look for “Open demo details” in the bottom-right corner. Clicking it will also open the demo directly in the editor.